Sunday, March 22, 2009

Tutorial ~ How to Make A Lined Pocket

So here's my first ever blog tutorial....so bear with me! When I first started sewing, I absolutely hated doing pockets. I hated trying to press and sew the seams all the way around, and doing the corners. Until my mom taught me how to make a lined pocket. Now, no matter what pattern I may be using, all pockets are lined. They look nicer and are so much faster!

So here's my super easy instructions for awesome pockets.

1. Cut 2 of your pocket fabric. Exactly the same.


2. Placing the fabrics right sides together, sew (or serge) around the edges, leaving either one entire edge open, or a space large enough to turn pocket. In this case, I left a gap large enough to turn my pocket back right side out. BUT don't leave this gap at the top of your pocket, because you won't be sewing the top of your pocket to close it.


3. Clip your corners to prevent any bunching in the corners once it's turned.


4. Turn pocket right side out. Fold the open section to the inside, keeping it even with the rest of the seam. Press.


5. Pocket is now ready to be attached to shirt, apron, dress, etc. Be sure the open gap is on the side or the bottom. Topstitch to your garment fabric and TADA! All done!


**This can be used with rounded pockets also. Follow same instructions!**

Thursday, March 19, 2009

Who wouldn't want to enter!?!?


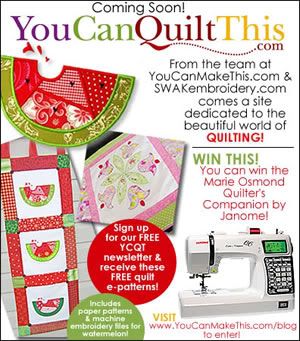
Our friends over at YouCanMakeThis.com are launching a new site in April, http://www.youcanquiltthis.com/. How exciting! The fun we have is expanding! So to celebrate, they are giving away a Marie Osmond 200 Quilter's Companion. If you don't know what this machine can do.....LOOK IT UP! It's awesome! It's a quilter's dream! So click on over and enter! And if you decide you don't want it, you can give it to me! =)